


Wiring harness
instructions
- Product
- Wiring harness
- Applies to
- Manual, automatic, stator · MOD1 and MOD2
- Steps
- 7 illustrated steps
- Help
- WhatsApp, before and during
From the original wiring to the Energy System kit: every connection in order, with photos of each step.
- Steps 7 stepsFrom unboxing to the final test
- In the package InstructionsThe sheet with all the connections
- Help WhatsAppWe guide you through the installation
Step by step
How to install it.
The general procedure applies to all Energy System wiring harnesses — manual charging, automatic charging and stator, first generation and MOD2. The detailed connections for your kit are on the instruction sheet you'll find in the package.
These instructions refer to supermoto, motocross and enduro. We're preparing dedicated guides for scooters and street bikes: in the meantime, message us on WhatsApp and we'll show you the connections for your model.

-
01

Check the kit contents
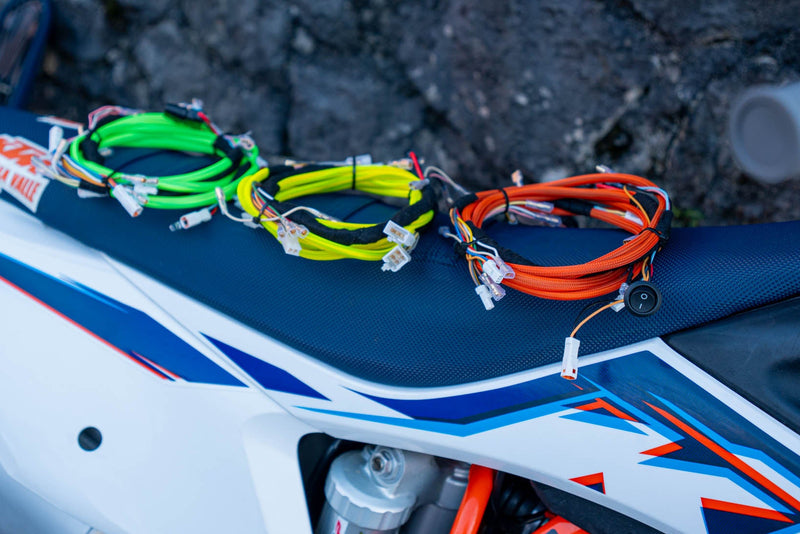
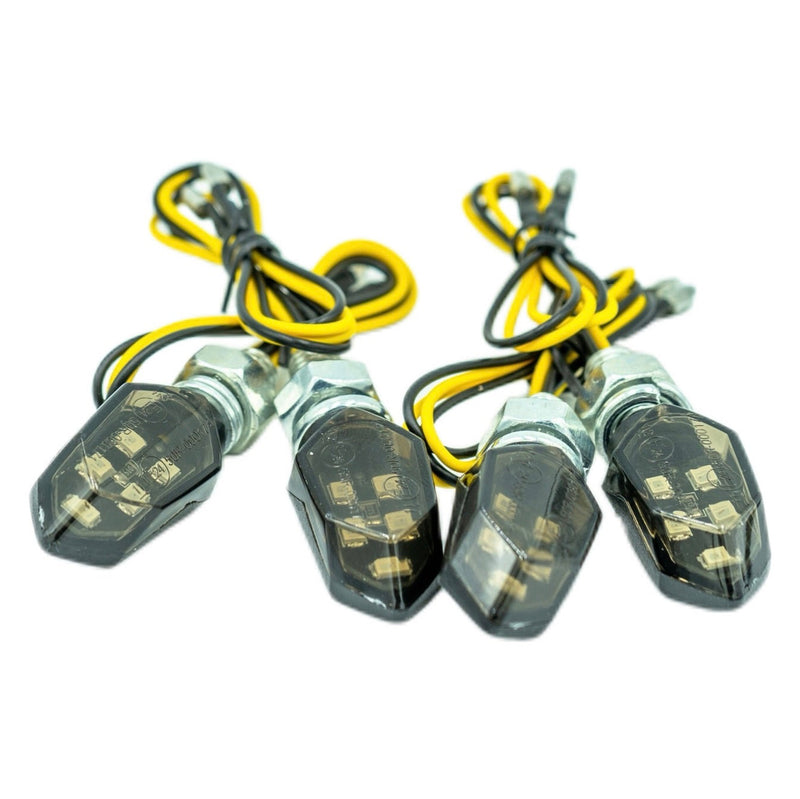
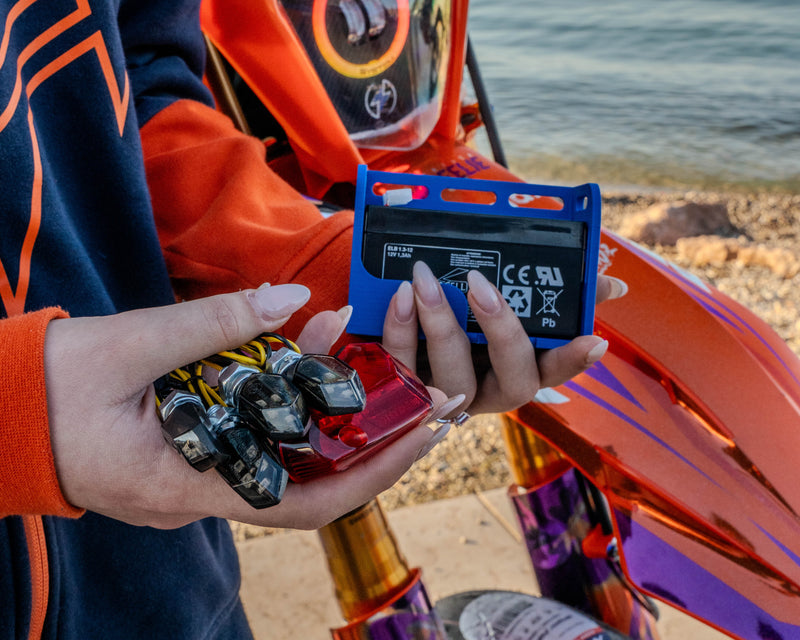
Check that the package contains the wiring, the handlebar switch, the on/off switch, the relay, the fuse and — depending on the kit you chose — 12V battery, headlights, turn signals, horn and brake light switches. Keep the instruction sheet included in the package handy.
-
02

Disconnect and remove the original wiring harness
Remove the seat and plastics, disconnect the battery (if there is one) and remove the original wiring harness along with the unnecessary wires. Before unplugging the connectors, take photos of the original connections: they'll be a useful reference if you have any doubts.
-
03
Position the new wiring
Lay the Energy wiring along the frame following the route of the original wires, without fastening it for good: first check that every connector reaches its position without being stretched or sharply bent.
-
04

Connect handlebar switch and key switch
Mount the handlebar switch on the handlebar and connect the key switch or the on/off switch to the dedicated connectors on the wiring. Each connector has its own socket: no cutting or soldering needed.
-
05

Connect headlights, turn signals, horn and brake light switches
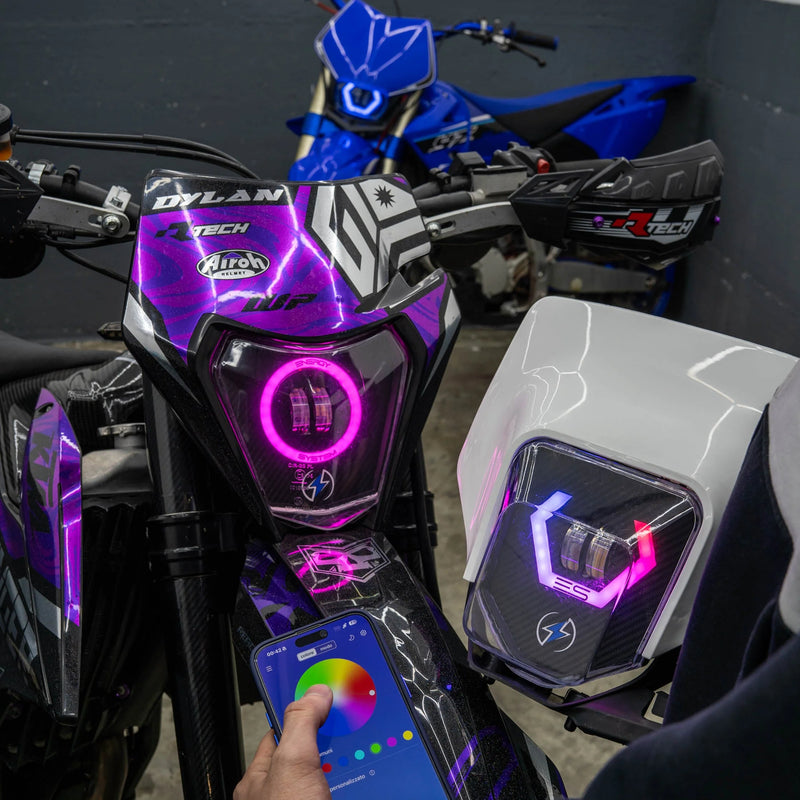
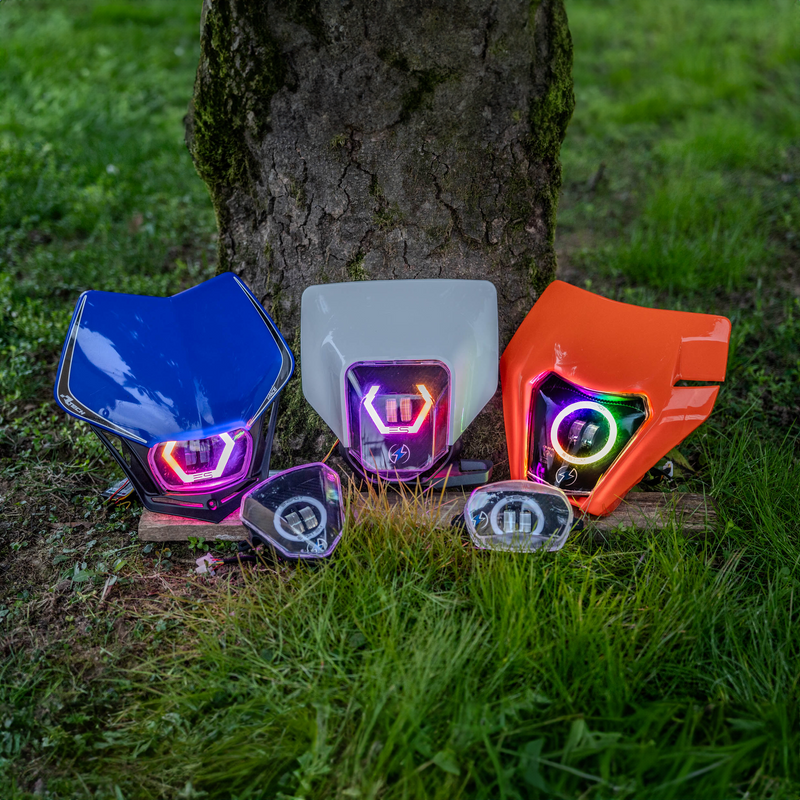
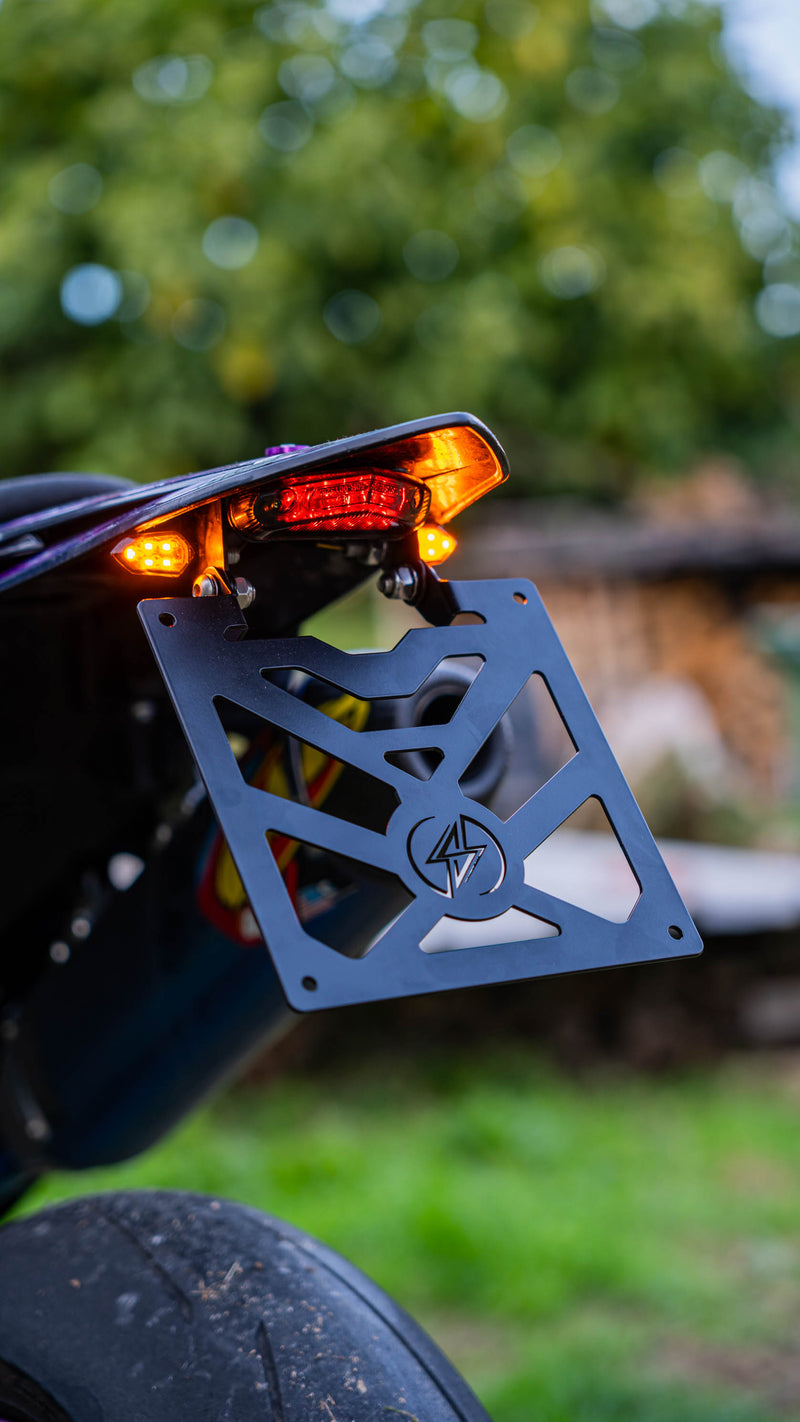
Connect the headlight, the tail light with brake light, the turn signals, the horn and the front and rear brake light switches. Remember: with manual and automatic charging harnesses we recommend LED headlights only, with the stator harness halogen headlights.
-
06

Connect battery or stator and fuse
For manual and automatic charging harnesses, connect the 12V battery with its fuse. For the stator harness (no battery), connect the power supply from the original lighting wire — you need a stator that puts out 12/14V — with just the fuse.
-
07
Secure the wires and test every function
Secure the wiring to the frame with zip ties, refit the plastics and check every function one by one: low and high beam, turn signals, brake light, horn and indicator lights. If something isn't working, check the fuse and connectors first.


Something
not working?
Before you take everything apart, check here: most problems can be solved in a few minutes.
The headlight won't turn on
Make sure you're using the right headlights for your wiring harness: with manual and automatic charging we recommend LED headlights only, with the stator harness halogen headlights. Then check that the headlight connector is fully plugged in and that the fuse is intact.
The turn signals flash too fast or don't flash
It usually comes down to the relay: check that it's correctly connected to the wiring and that all the turn signals are plugged in. If the problem affects just one turn signal, check its connector.
The battery keeps draining
It depends on your wiring harness's charging type. With manual charging, you need to recharge the battery yourself periodically (charger optional). With automatic charging, the buffer battery recharges while you ride, but you need a stator that puts out 12/14V on the original lighting wire. If the battery keeps draining, message us on WhatsApp.
I don't know which wiring harness is right for me
Manual charging, automatic charging or stator? Take a look at the wiring harness page, which explains the differences: it lays them out simply.

Need a hand with your wiring harness?
We'll help you choose the right wiring harness and guide you through the installation, directly on WhatsApp.